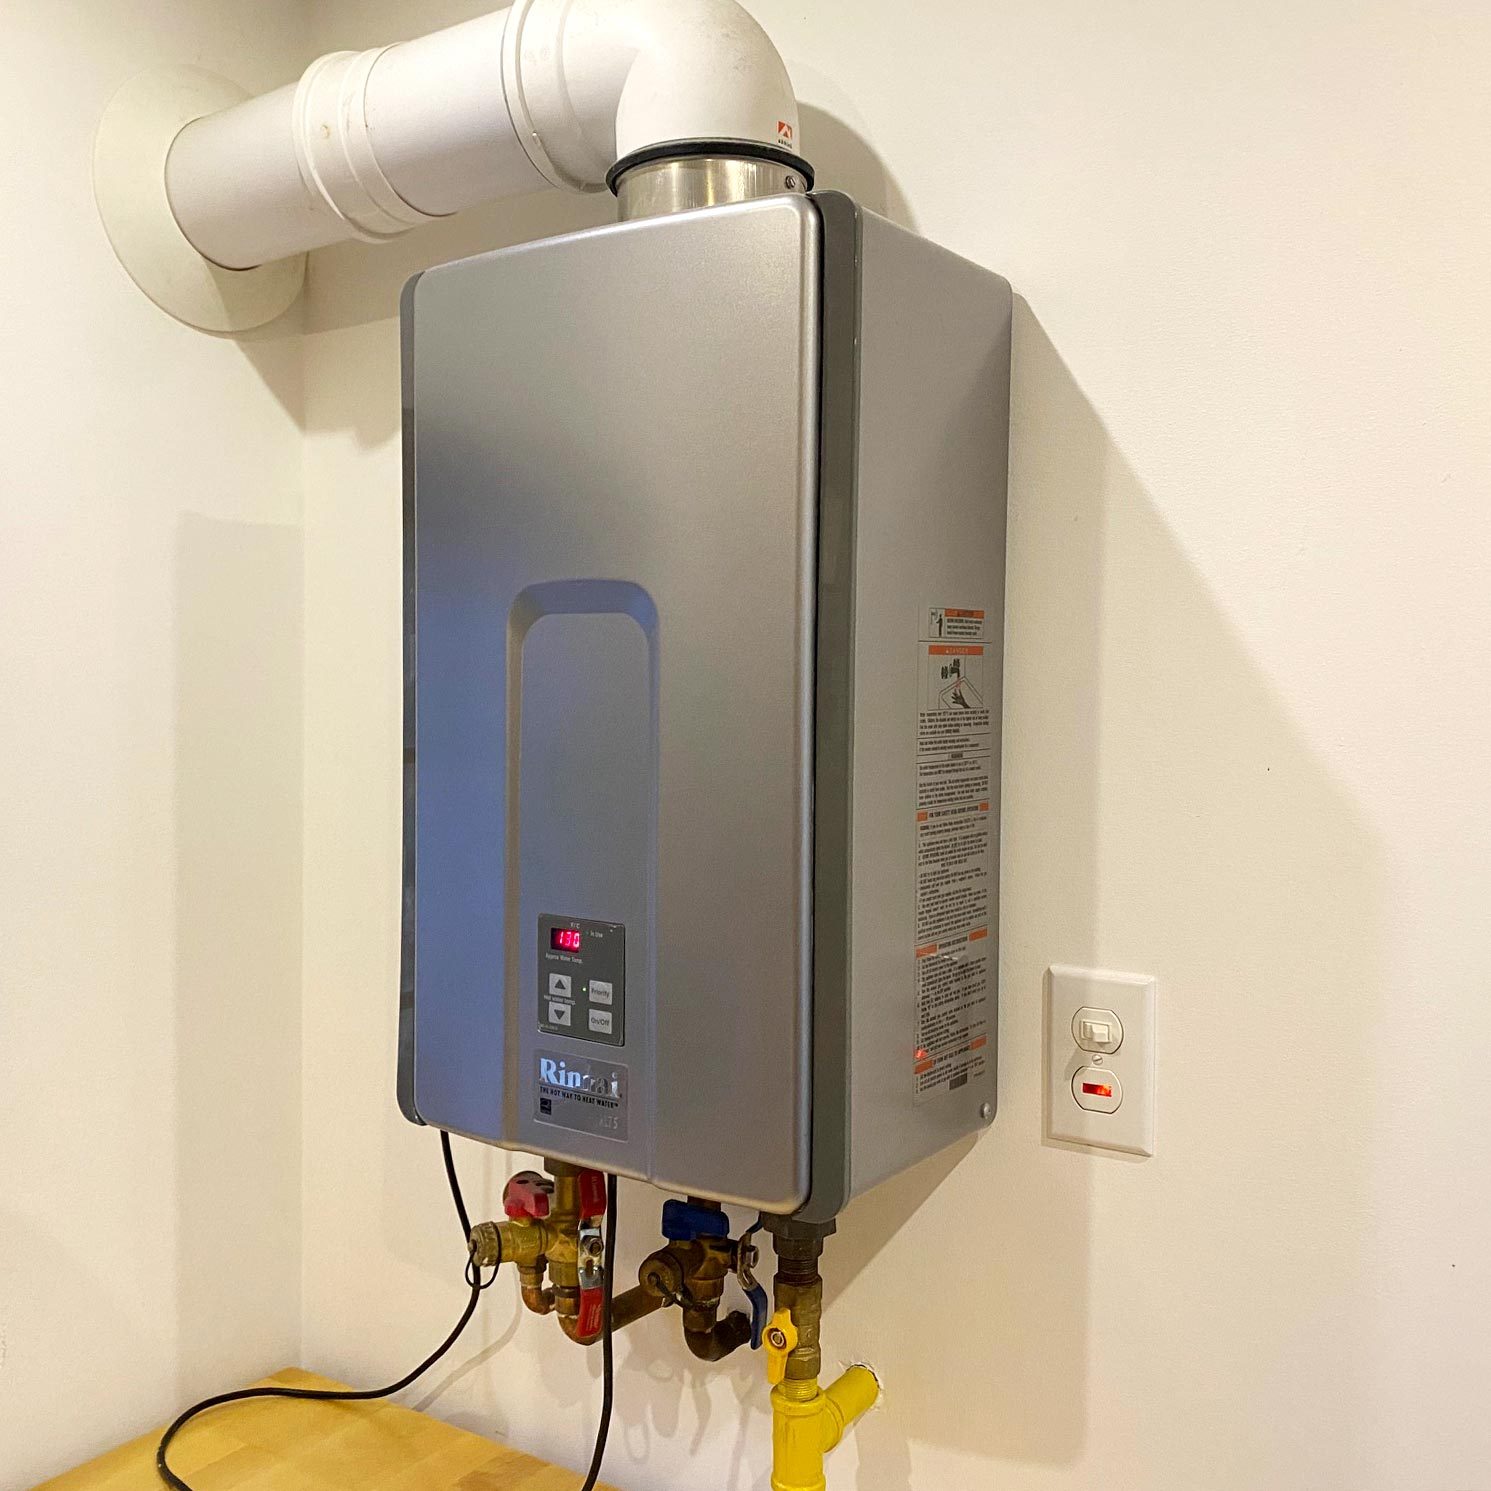
Tankless water heaters are great, but mineral buildup can kill their efficiency fast. Here's how to clean a tankless water heater.
2 to 3 hours
Beginner
$40 to $60
Introduction
When my wife and I installed a propane-fueled tankless water heater in our home eight years ago, we were excited about the small footprint, convenience and efficiency it promised. It delivered on our hopes, but there's one thing we didn't count on: A gradually and significant drop in efficiency thanks to our mineral-rich water.
As our well water flowed through the heater, the minerals coated the heat exchanger inside. Soon, we discovered we were burning more propane. Eventually we learned our lesson and started cleaning our water heater regularly. It's performed great ever since.
All water heaters need cleaning from time to time, especially if you live somewhere with hard water. Tank-style heaters are usually easy to clean. It's somewhat trickier for tankless units, but you can do it with the right tools and approach. Keep reading for my preferred method for cleaning a tankless water heater.
Tools Required
- 3-foot length of standard garden hose with interior threaded port on one end no port on the other
- 5-foot length of standard garden hose with interior threaded port on each end
- 5-foot length of standard garden hose with interior threaded port on one end no port on the other
- 5-gallon bucket
- Chair
- Channel lock pliers
- Large bowl or basin
- Multiple batteries and charger for pump (if using a cordless model)
- Portable transfer pump
- Towel
Materials Required
- Clean water
- Six 1-gallon jugs of regular white vinegar
Watch How to Clean a Tankless Water Heater
Project step-by-step (5)
Prepare water heater for cleaning
- Switch off your tankless water heater, then unplug it.
- Shut the water inlet and outlet valves.
- Place a large bowl or basin below the service valves leading to the heater. Open the valves and remove their end caps with channel lock pliers.
- Allow any water in the heater to drain into the bowl.

Set up pump and hoses
- Set up a chair next to your water heater with a towel on top of the seat.
- Place your portable transfer pump on the towel. (The towel prevents the pump’s vibration from damaging the finish on your chair.)
- Thread the short hose onto the pump’s inlet port. Many pumps indicate which direction liquid flows with an arrow. If yours does, thread the short hose onto the port opposite to the direction of the arrow.
- Thread the long hose with interior threads on each end on the other port. Thread the other end onto the service valve leading to the cold water inlet valve.
- Thread the second long hose (with threads only on one end) onto the service valve leading to the hot water inlet valve.

Demineralize the water heater
- Set up a five-gallon bucket on the floor next to the pump.
- Place the two unthreaded hose ends into the bucket.
- Pour two gallons of white vinegar into the bucket. Ensure the two hose ends are submerged by several inches.
- If your transfer pump is cordless, double-check that you have several charged batteries and one on the charger.
- Switch on the pump. It should immediately begin pumping vinegar from the bucket through the heater and back into the bucket in a continuous cycle.
- Run the pump for 45 minutes. If there’s significant mineral buildup, the vinegar will darken.

Run another demineralizing cycle
- After 45 minutes, shut off your pump. Lift the hoses out of the bucket and let the vinegar drain back into the bucket.
- Place the hoses temporarily to one side.
- Find somewhere to dispose of the spent vinegar. Down your drain or outside is fine. It won’t harm the environment or your community’s waste disposal system.
- Rinse any remaining minerals from the bucket with clean water, then return the bucket to its spot next to the pump.
- Place the hoses back in the bucket, then add two fresh gallons of vinegar.
- Switch on the pump and run it for another 45 minutes. The vinegar shouldn’t be as dark this time. But if it is, dump the vinegar and repeat the process one more time.

Clean up
- Switch off the pump and drain the vinegar from your hoses.
- Dump the spent vinegar.
- Disconnect your hoses from the service valves, then close the service valves and replace their end caps. Leave the short hose threaded onto the pump.
- Open the inlet and outlet valves, then plug the heater back in and switch it on.
- Fill your bucket with clean water, then connect the long hose threaded on one end to the unoccupied port on the pump.
- Place the end of both hoses in the bucket. Switch on the pump and run it for 30 seconds to flush the vinegar from the pump and hoses.
- Rinse out the third hose (not connected to the pump) with water.
- Disconnect the hoses from the pump, then put everything away. Mark your calendar to repeat the cleaning in six months.
- Turn on any tap in your house and run hot water for about 30 seconds. This will flush out the little bit of vinegar left in the heater.
Water Heater Installation and Maintenance Basics
Learn how to properly install and care for your water heater to avoid costly repairs and maximize efficiency.
- DIY Water Heater Installation
- How to Turn on a Water Heater
- How to Adjust Your Water Heater’s Temperature
- How to Install a Hot Water Regulator
- How to Flush a Hot Water Heater
- How to Drain an RV Water Heater

Next, learn how to dispose of a water heater.


